Optimizing Your Data Lakehouse for AI: A Closer Look at RisingWave with MinIO


RisingWave is an open-source streaming database in the processing layer of the modern data lakehouse built for performance and scalability. RisingWave was designed to allow developers to run SQL on streaming data. Given that SQL is the lingua franca of data engineering, this capability is extremely important. It features a robust architecture comprising compute nodes, meta nodes, and compactor nodes—all optimized for high throughput and low latency operations foundational for AI: like data quality, data exploration and preprocessing. Remember that your AI initiatives are only as good as your data.
RisingWave positions itself as an alternative to Apache Flink and ksqlDB, and plays well with other Kubernetes-native technologies in this space; particularly those also built for speed and scale. This blog shows an implementation between RisingWave and MinIO using Docker Compose.
Prerequisites
You need to have Docker Desktop installed on your system. Download and install the version appropriate for your operating system and then check that you installed it correctly by opening up a terminal and running:
docker-compose --versionYou will also need a PostgreSQL client, psql. Follow these instructions based on your operating system.
Next, in a terminal window clone the RisingWave repository and navigate into the folder containing the docker-compose file :
git clone https://github.com/risingwavelabs/risingwave.git
cd risingwave/docker
Start the Services
Start the RisingWave and MinIO services using the following command:
docker-compose up -dWhen you execute docker-compose up using this Docker Compose file, Docker Compose orchestrates the deployment of multiple interconnected services, including risingwave-standalone, etcd-0, minio-0, prometheus-0, grafana-0, and message_queue. It configures each service according to specified settings like image sources, environment variables, volume mappings, and port bindings. Dependencies between services are managed to ensure correct startup order. Network settings allow for internal communication, while health checks monitor service stability. Resource constraints and restart policies are applied to maintain performance and reliability. Essentially, this command sets up a complex, multi-service application environment tailored to the defined configurations.
Accessing RisingWave, Grafana and MinIO
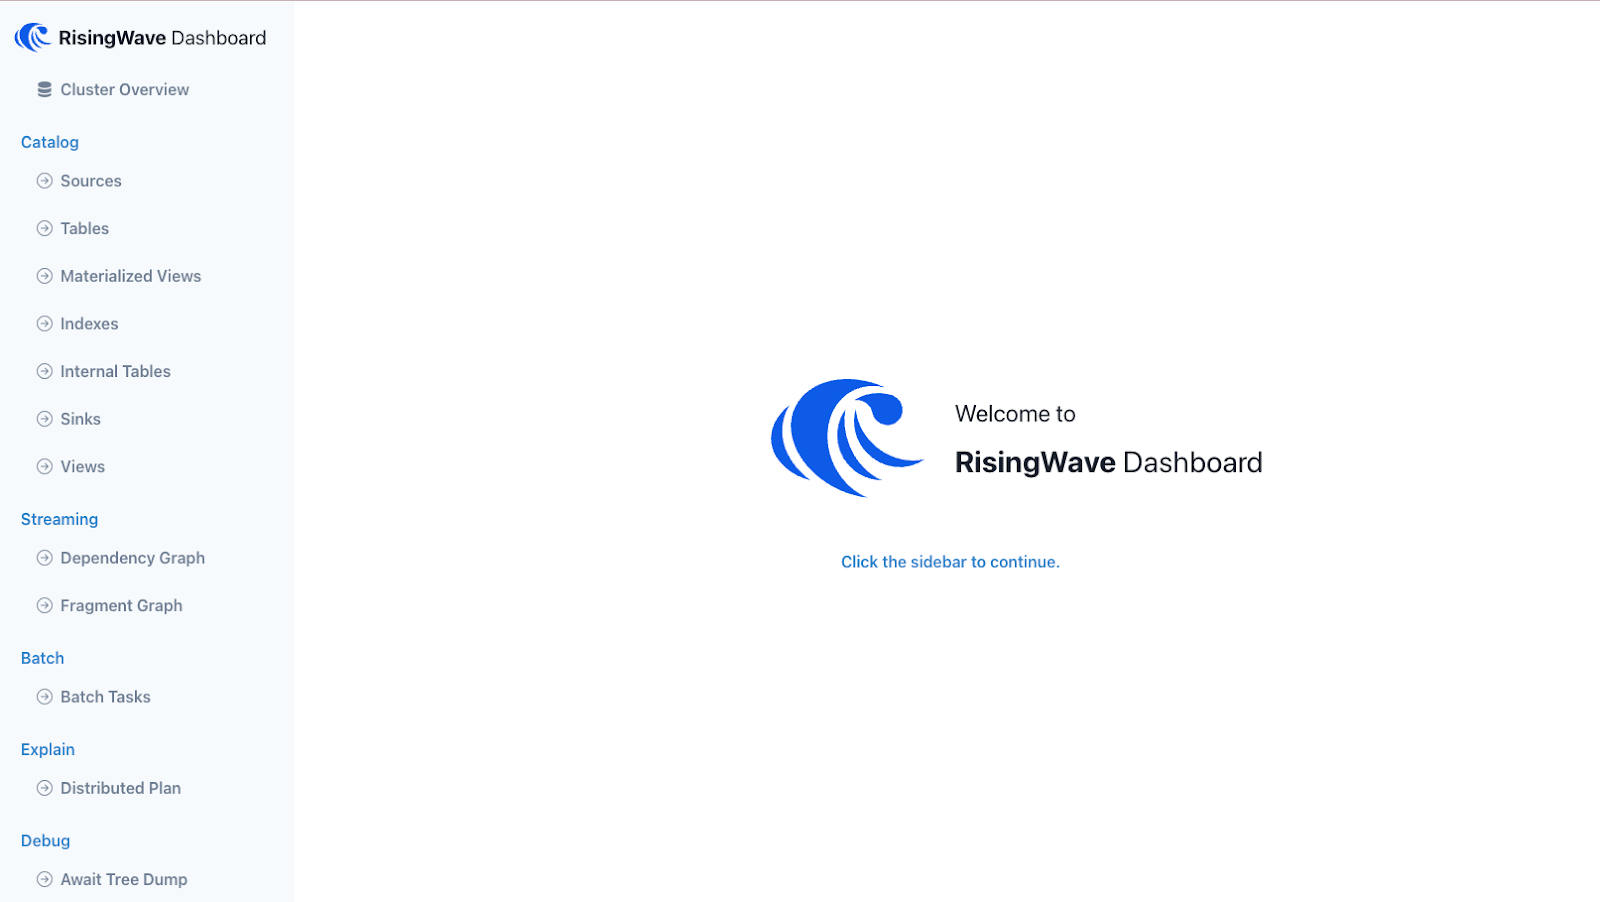
After successfully launching the services, you can access the RisingWave dashboard at http://127.0.0.1:5691 to view the cluster’s status and manage streaming sources, sinks, and queries.
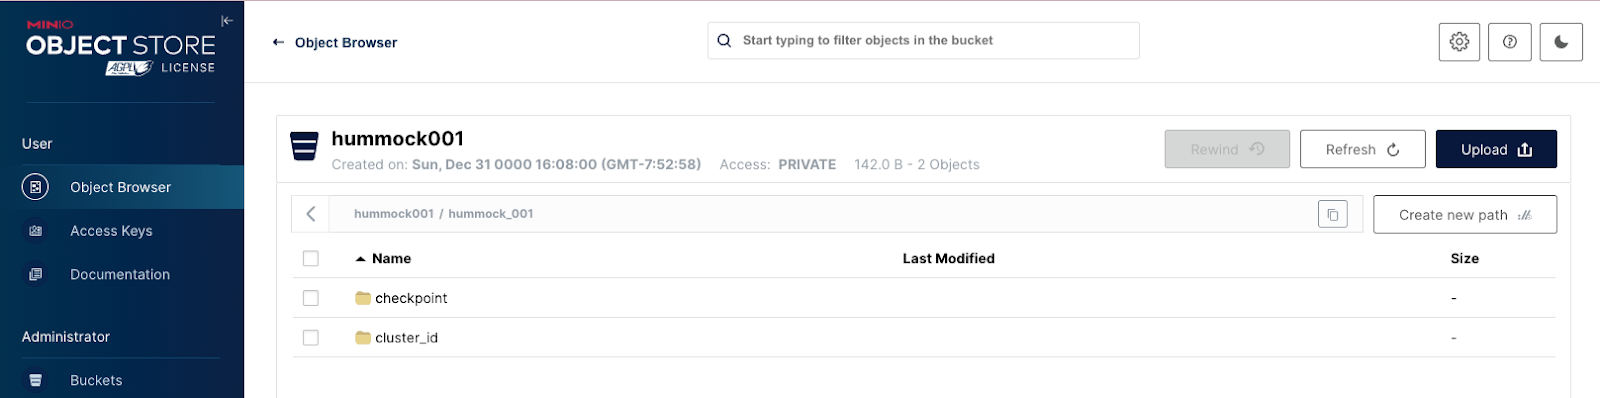
Access the MinIO web interface at http://127.0.0.1:9400. Use the default credentials (username: hummockadmin, password: hummockadmin) to log in. You’ll see that a bucket called hummock001 has been created.
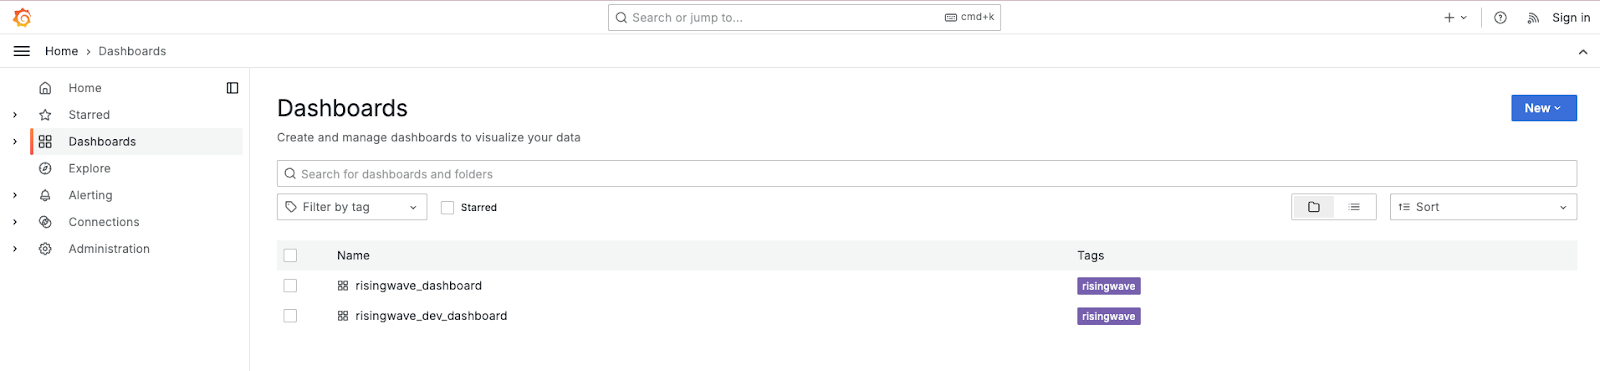
Access Grafana at http://127.0.0.1:3001/ navigate to the Dashboards menu on the left hand side. Find the risingwave_dashboard. In this dashboard, you have access to several internal metrics including node count, memory usage, throughput, and latencies. These metrics are valuable for diagnosing and enhancing the performance of your cluster.
Execute SQL
Connect to RisingWave using psql by running the following command in a terminal window:
psql -h localhost -p 4566 -d dev -U rootYou’re now ready to play around with this integration. The sample queries below will get you started executing SQL on Rising Wave. Run the following command to create a table called purchase records:
CREATE TABLE purchase_records (
  purchase_id int,
  product_id int,
  customer_id int,
  amount_spent real,
  purchase_date date
);
Run this command to insert data into the table you just created:
INSERT INTO purchase_records (purchase_id, product_id, customer_id, amount_spent, purchase_date)
VALUES
  (1, 301, 3001, 120.5, '2023-05-10'),
  (2, 301, 3002, 150.0, '2023-05-10'),
  (3, 301, 3003, 80.0, '2023-05-10'),
  (4, 302, 3001, 220.2, '2023-06-15'),
  (5, 302, 3003, 110.0, '2023-06-15');
Create a materialized view from that table with some aggregates to explore the data further:
CREATE MATERIALIZED VIEW product_spending_summary AS
SELECT
    product_id,
    AVG(amount_spent) AS average_spent,
    COUNT(amount_spent) AS total_purchases
FROM
    purchase_records
GROUP BY
    product_id;
Check out the data you've compiled by running the following SQL query to select everything from your materialized view:
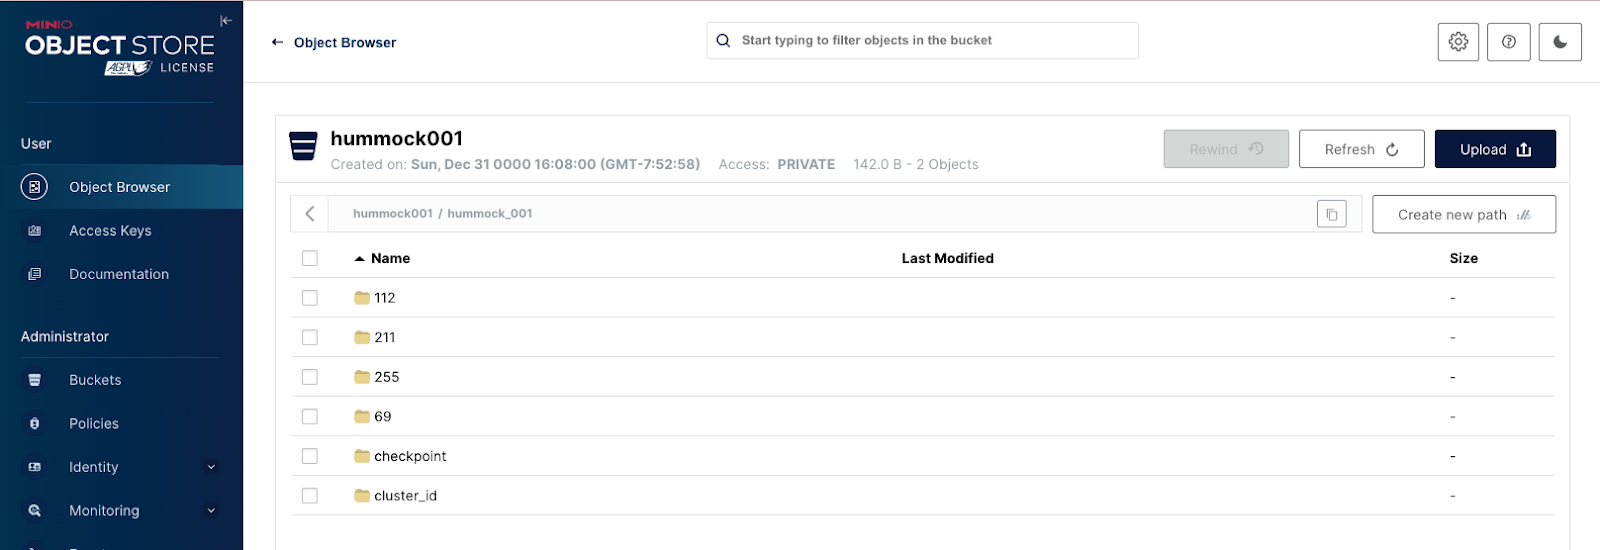
SELECT * FROM product_spending_summary;You can check back in with MinIO at http://127.0.0.1:9400 to see that objects from the Materialized view and table you created have populated your object storage.
Extend on this tutorial
Integrating RisingWave with MinIO offers a robust solution for developers seeking to build and scale real-time analytic applications. This combination provides the reliability and scalability necessary to handle large streams of data efficiently. By following the steps outlined above, you can set up an environment that leverages the strengths of both RisingWave and MinIO. As with all Kubernetes-native software, you can deploy this integration with Kubernetes if you would prefer. Whether you're running complex queries or managing vast datasets, this combination of services ensures you're well-equipped to handle the challenges of modern data processing and ensure your organization is prepared for AI initiatives.